Baked french toast is beginning to be a staple brunch food for me, 'cause it's so darn easy and delicious. All ingredients go in the pan the night before, and you just throw it in the oven in the morning. Yummmm!
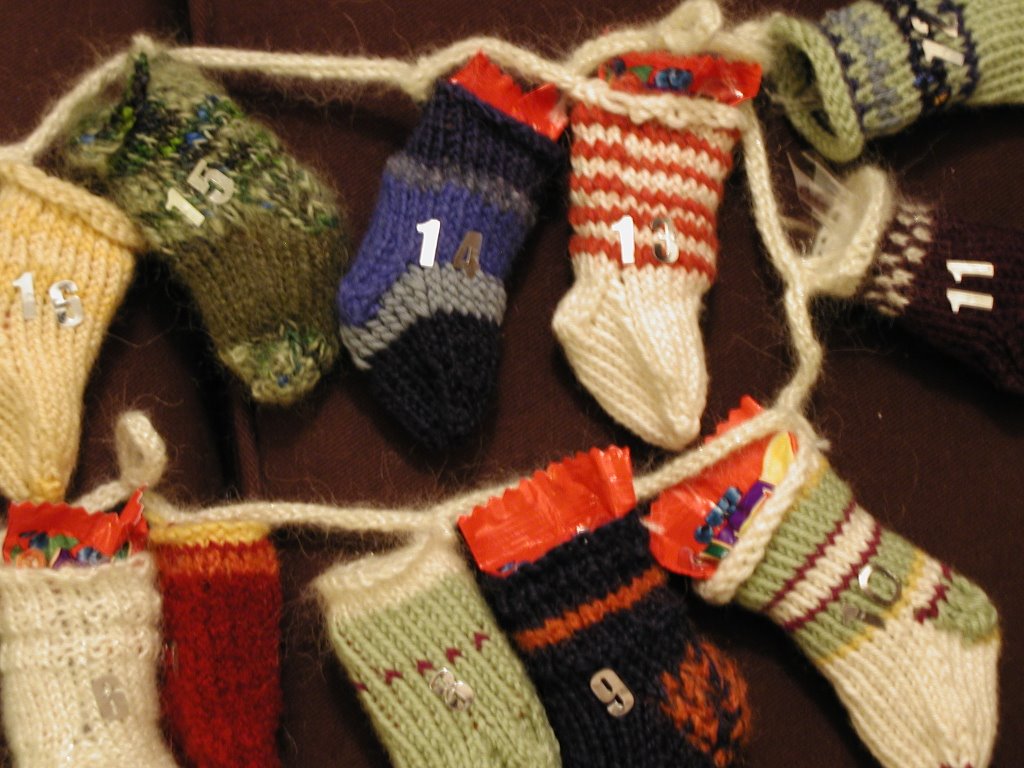
Merry Christmas!
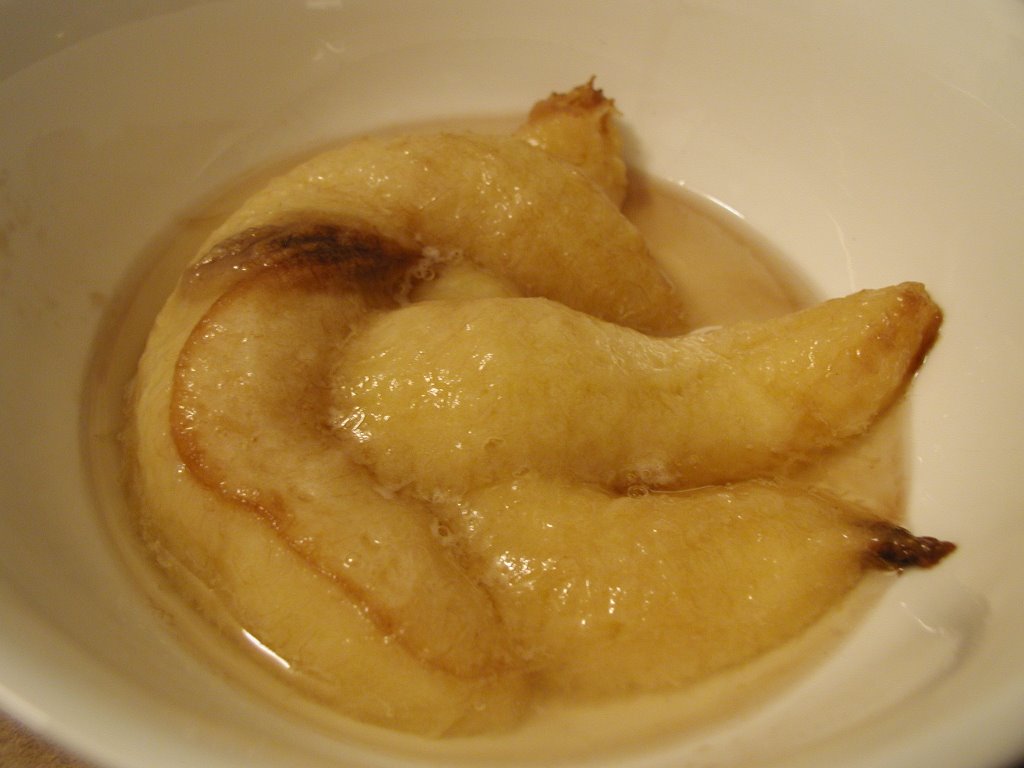
eggnog french toast
french baguette
eggs
eggnog
milk
cinnamon
Slice baguette and layer in the bottom of baking pan (8x8 or 13x9, depending on size of party). Cut up some slices into halves or quarters and fill any gaps between slices, overlapping the bread slightly.
In a bowl, whisk together some eggs (for our 8x8 pan, I used 3 eggs), pour in some eggnog and a little milk to cut the thickness. Pour over bread. Sprinkle the top with cinnamon, cover with plastic wrap, and refrigerate overnight.
In the morning, take out of fridge about 20-30 minutes to take the chill off the pan (we don't want anything to break in a hot oven!). Preheat oven to 350 degrees and bake, uncovered, for about 30-40 minutes, until the eggs are done.
variation: berry & pecan french toast
french baguette
eggs
milk
cinnamon
vanilla extract
fresh or frozen berries -- blueberries, raspberries and/or blackberries
toasted pecans
Same basic idea as above, but soak bread with a regular french toast mixture of eggs, milk, cinnamon, and vanilla. In the morning, sprinkle lots of berries over the egg/bread mixture (poking some berries into pockets in the bread...mmm) and sprinkle a few toasted pecans over as well. Bake as usual. I like to serve this with a berry syrup and whipped cream. (To make the syrup, warm some regular maple syrup and a few berries in a saucepan on the stove, crushing the berries once they are warm.)
We had this last year for xmas -- scrum-diddly-umptious.