
 I've been hunting pretty teacups from garage sales and thrift stores for a while now, planning to make these lovely candles (Martha's "good idea" from her Dec 2002 mag). Here are lots of pictures of the process...
 Supplies: two pans (one smaller than the other, for nesting), leftover candles, teacups (duh), wick sustainers, new wicking, chopsticks, a wrench (or pliers), and a kitchen torch (optional -- but fun)
A collection of teacups waiting for reincarnation
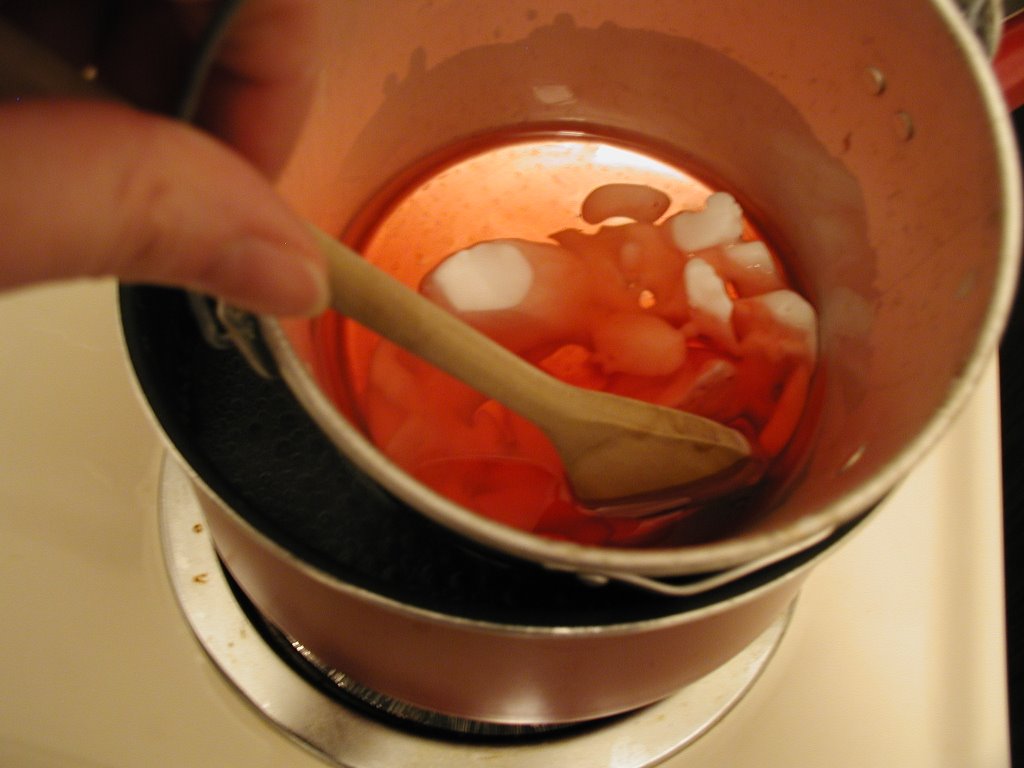 To start, melt down old candles in nested pans over simmering water. (Martha says to monitor the temp at 185 degrees, but I didn't even take the temperature once--no harm done). Fish out any old wicks in your melted candles.
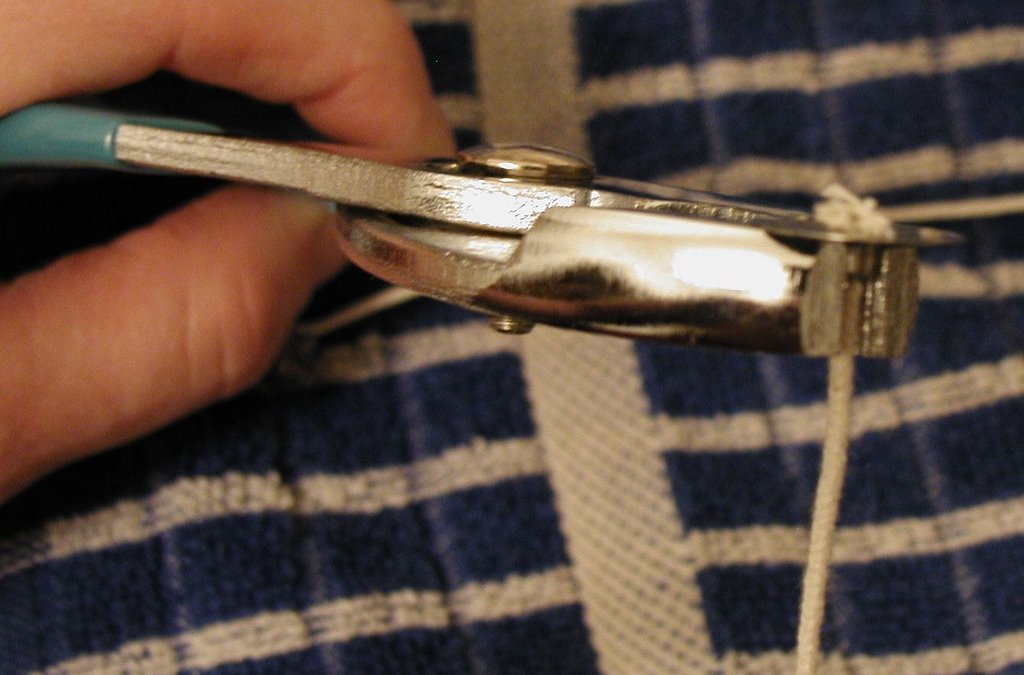 Cut pieces of wicking to the cups height, plus about 2 inches. Clamp one end of the wick into a sustainer with a wrench, then dip wicking and sustainer into the pot of hot wax to coat them.
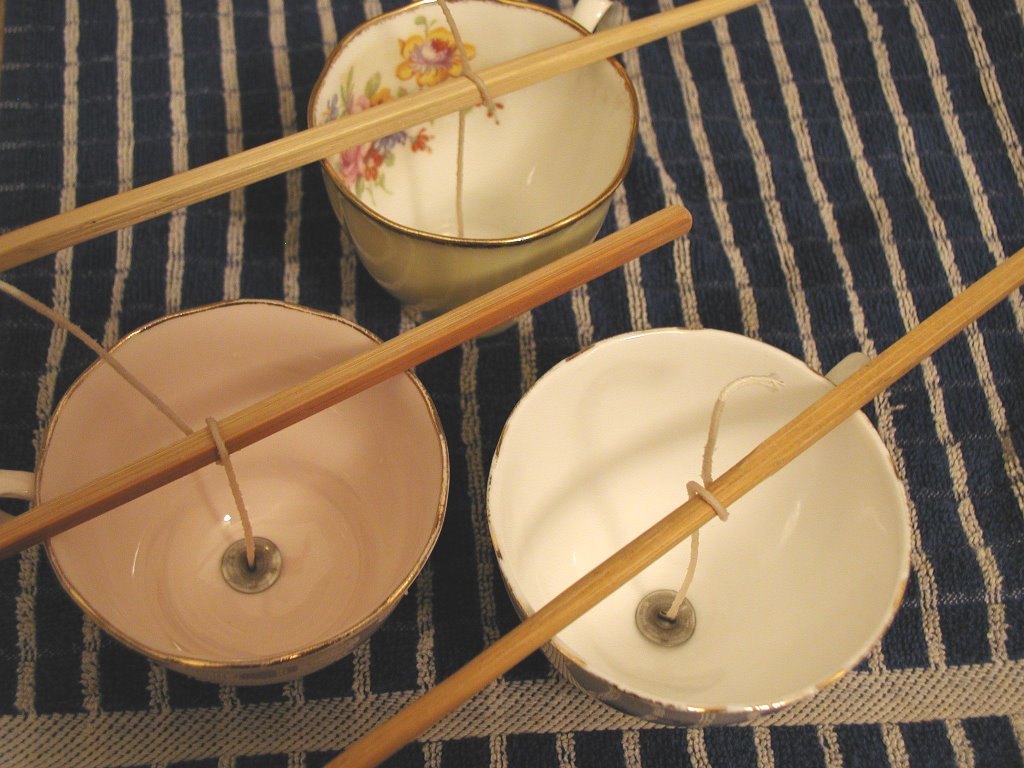 Stick the wax coated sustainers to the bottom of the cups. Twist the other end of the wicking around a skewer or a chopstick.
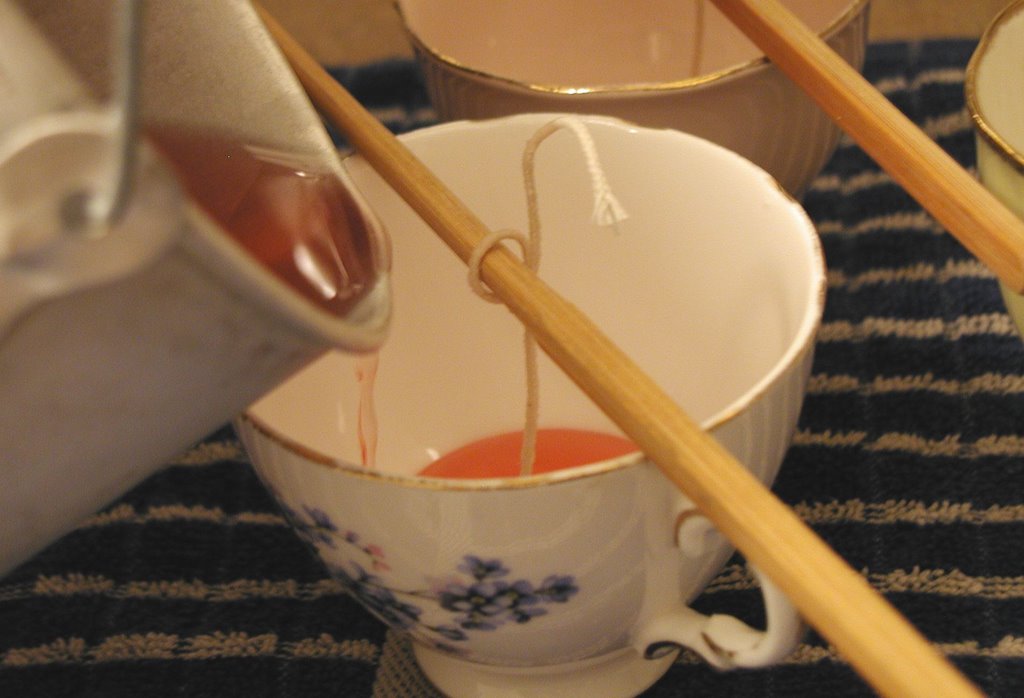 Pour in the hot wax, stopping about 1/2 inch below the rim.
Let the wax cool...
 As it cools, the wax will make all sorts of weird indents in the surface. To level out the surface, Martha recommends pricking a holes in the surface and adding more hot wax to the tea cup. But since I didn't make enough wax, I had to get creative...
 A handy kitchen torch melts the surface perfectly! Be sure to wrap the wick in tinfoil so it won't burn. As the torch heats the surface, the hot wax fills in the grooves.
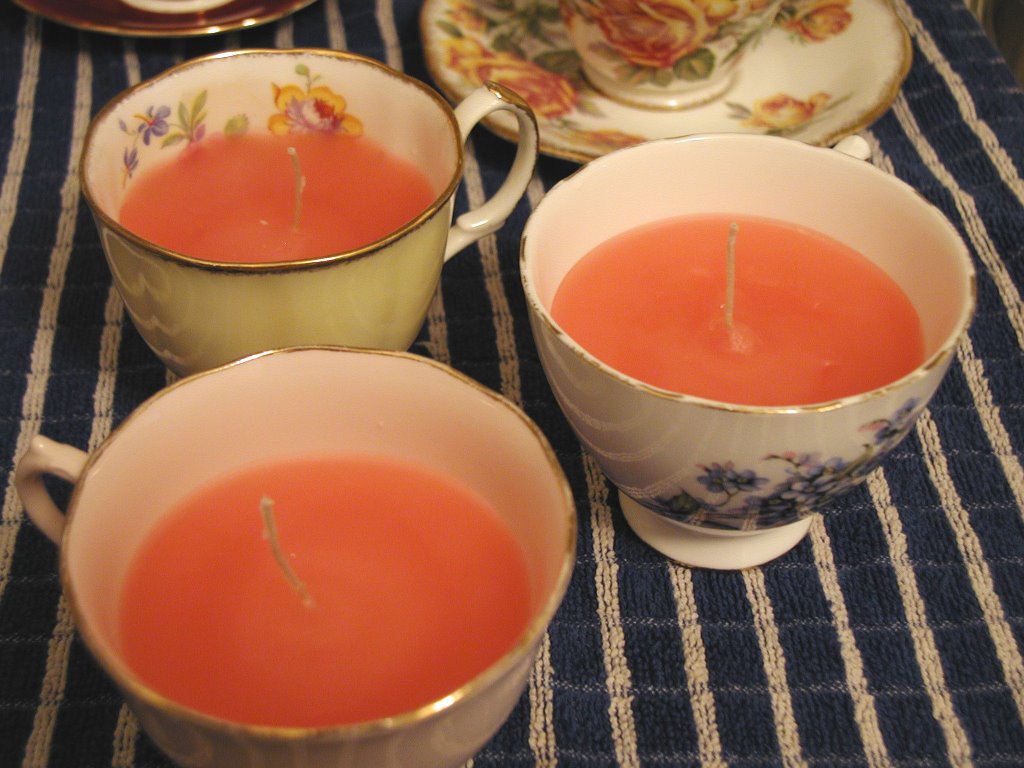
Let the wax cool again, then cut the wick.
Done! Makes a sweet gift for a dainty pyro.

2 comments:
you seen martha's new Holiday Homemade Gifts mag? they reprint this and several other older 'good things' gifts. I am fighting the urge not to buy it! :)
too late...said mag is already on my nightstand. :)
Post a Comment